Installation
Linux and MacOS
fish2eod
The reccomended way to install fish2eod is through conda. If you do not already have a version of conda installed you can download and install is from here.
Assuming you do not have an existing environment you want to use you’d do the following. Where my_envionment_name is what you’d want to call your environment and v is the python version you want. fish2eod is currently tested and supported on 3.7, 3.8, and 3.9
conda create -n my_environment_name python=v
conda activate my_environment_name
Once your environment is set up, or if you already have an environment you want to use you can just install fish2eod. Note that this can be very slow and we recommend installing with mamba.
conda install -c conda-forge mamba
mamba install -c conda-forge fish2eod
If you don’t wish to use mamba you can install fish2eod the standard way
conda install -c conda-forge fish2eod
Ubuntu Libraries
If you’re on ubuntu you might get some errors about missing libraries, you can install them through the package manager.
sudo apt-get install libglu1-mesa
Windows
fish2eod is not formally supported on windows, due to docker no longer being supported on non-professional versions of windows we have elected not to ship docker images. If you want to install fish2eod on windows you can either install a linux or mac VM (see linux or mac instructions) or use the microsoft WSL (windows subsystem from linux), note this has only been tested on Windows 10.
To install wsl see the instructions here and make sure you initialize your distribution (see instructions here).

Once installed fish2eod can be installed by following the Linux instructions.
At this point fish2eod is installed, however if you want to use a proper editor (ide) to develop models on this is a challenge. To get this to work, you need an editor familiar with WSL and you need an editor capable of setting environment variables.
There are two options.
Installing an IDE within WSL
Routing the WSL interpreter to a windows ide.
For both of these options you’ll need to install an x-windows emulator such as x-ming
Installing IDE WSL
For this we’ll install spyder3.
sudo apt install spyder3
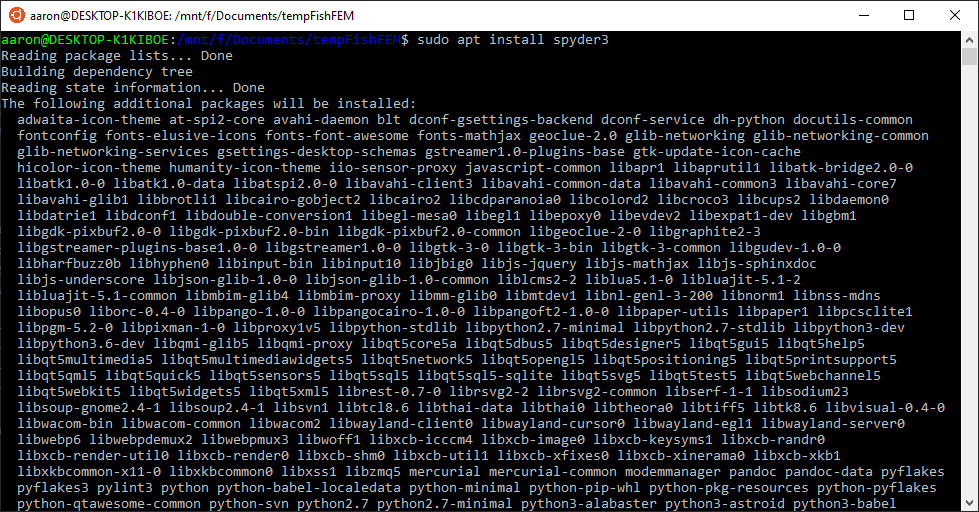

Like before you’ll be prompted to answer Y
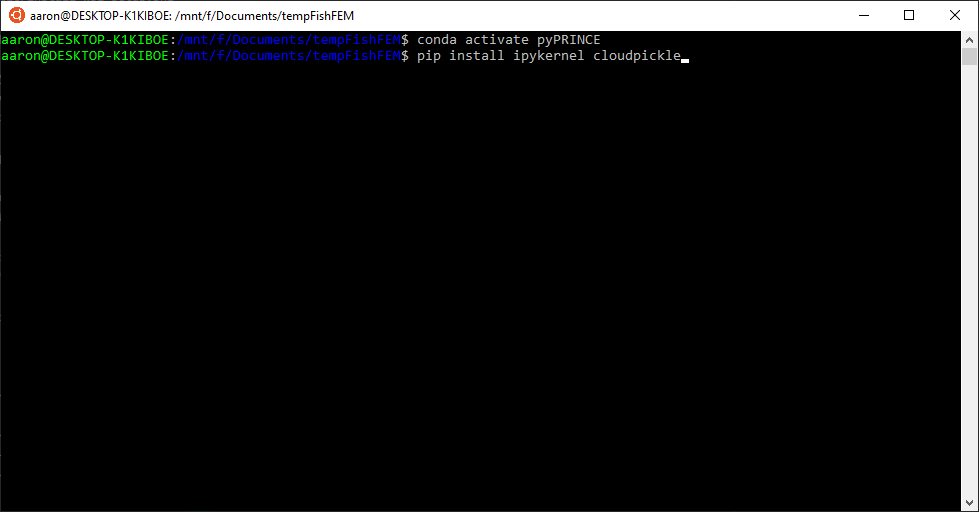
Before starting Spyder for the first time we need to add a few packages
conda activate fish2eod
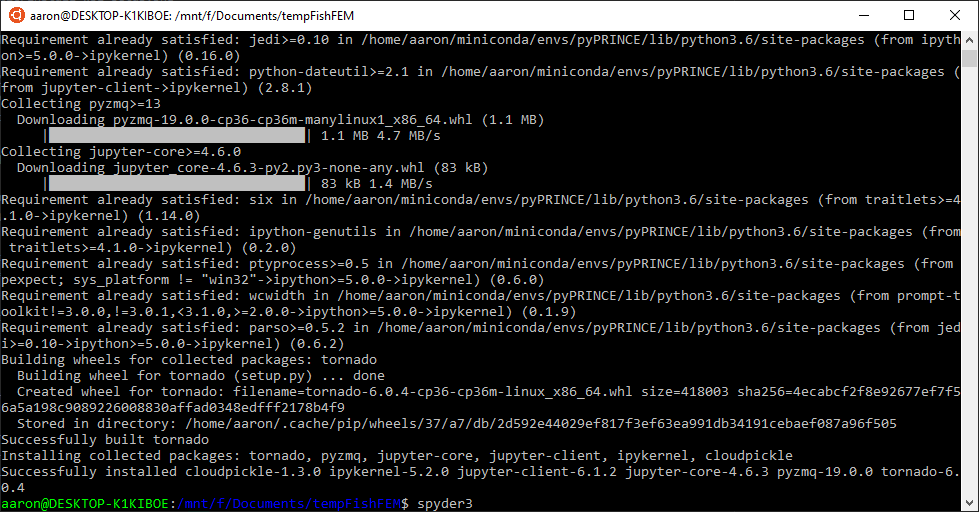
pip install ipykernel cloudpickle
We can start spyder with
spyder3
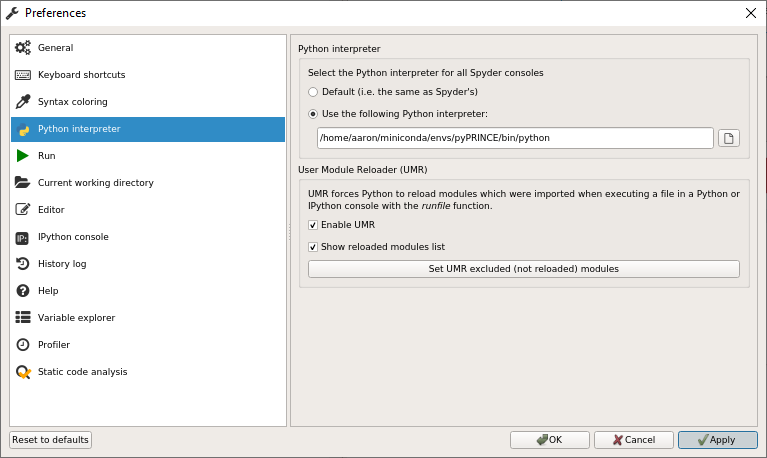
To add the interpreter we’ll do the following
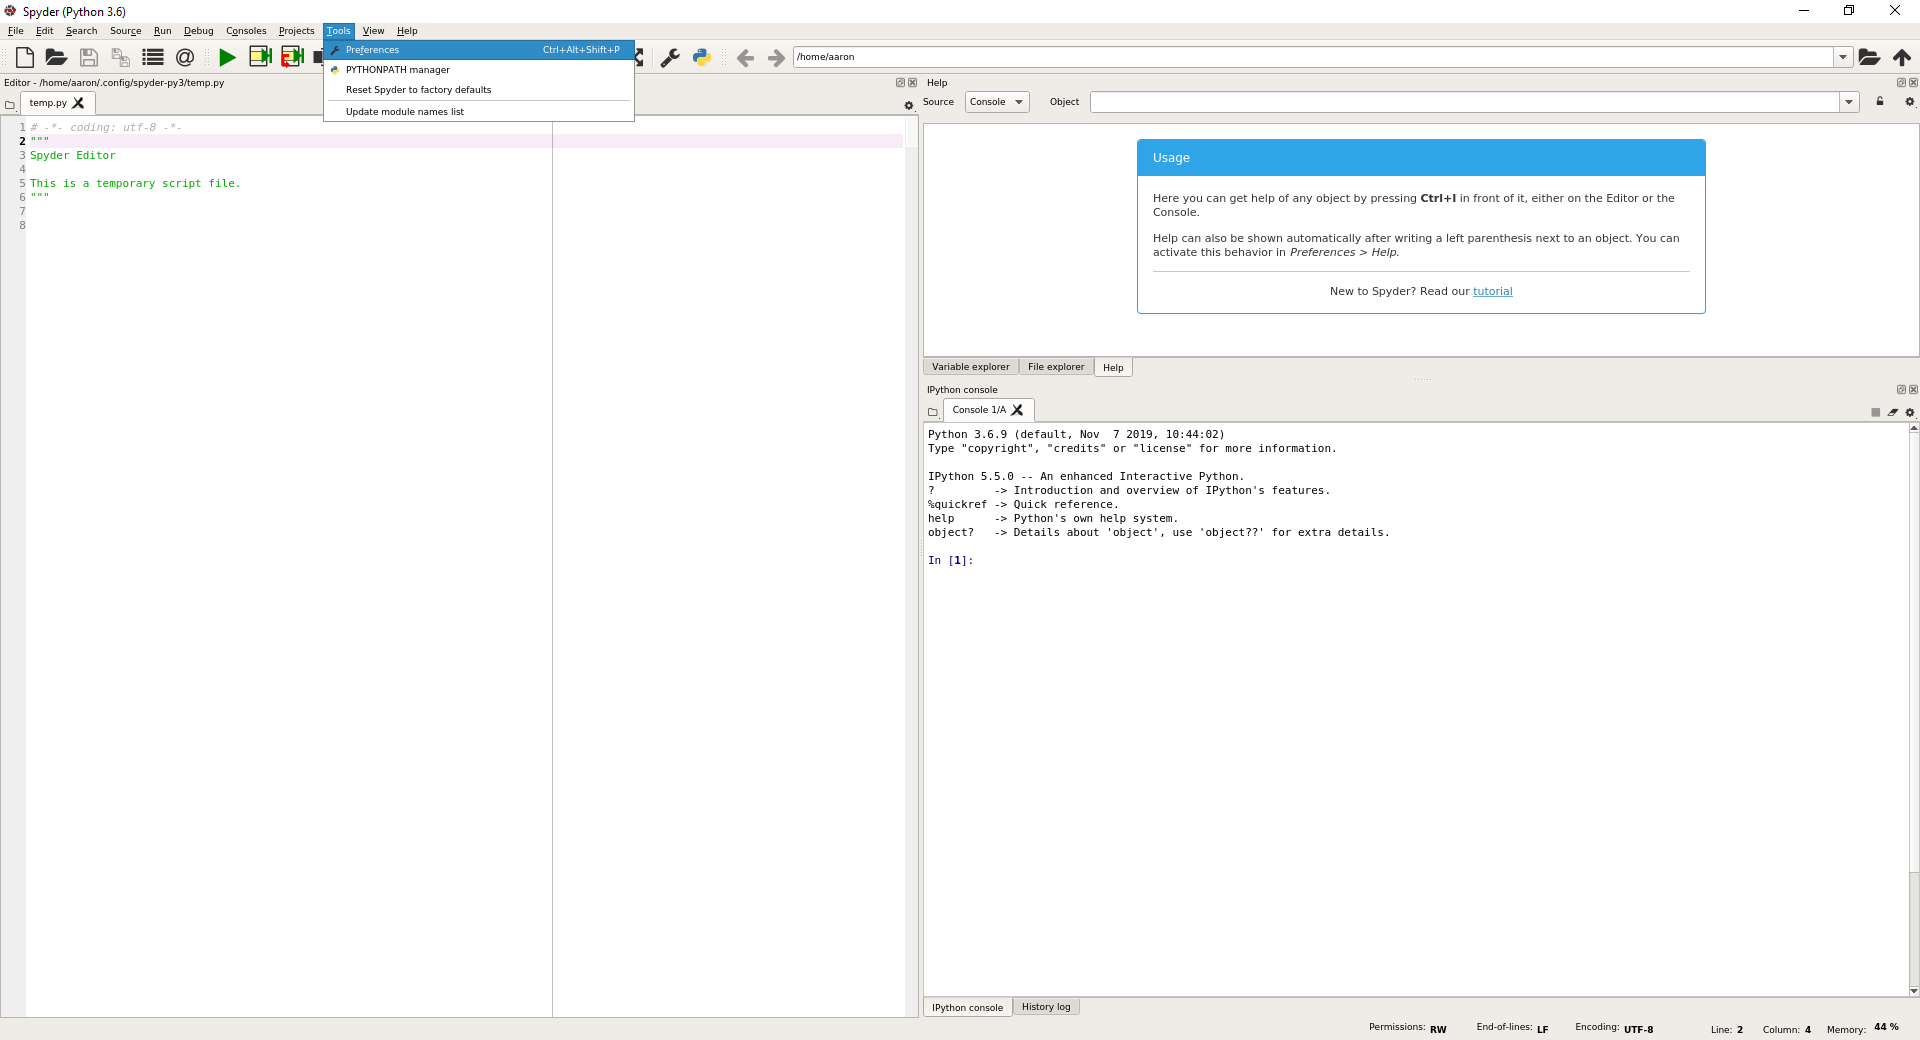


Routing Interpreter
The only editor I know of that supports this is PyCharm professional free for students.
To be clear this is a filthy, filthy, filthy dirty hack currently works - it may not work in the future. Please raise an issue if this is the case.
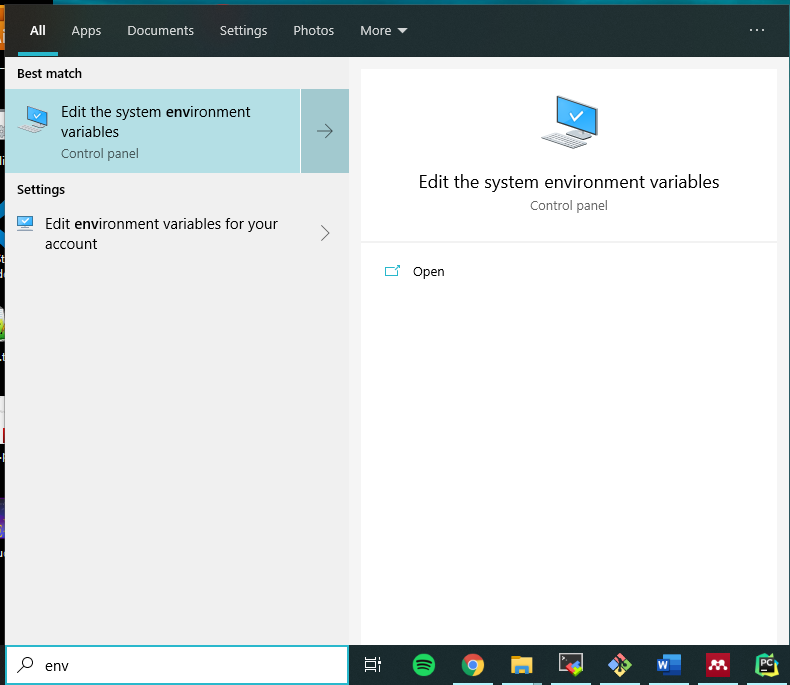
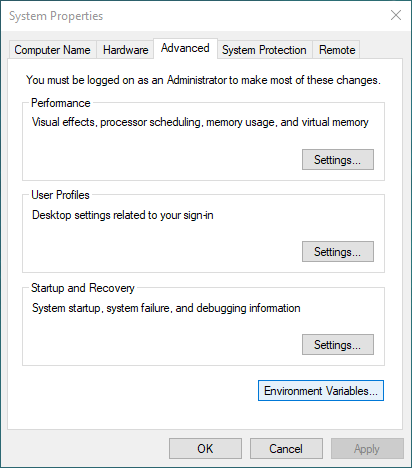
First you have to set two environment variables in windows
WSLENV = PKG_CONFIG_PATH/u
PKG_CONFIG_PATH = /home/your_user_name/miniconda/envs/fish2eod/lib/pkgconfig
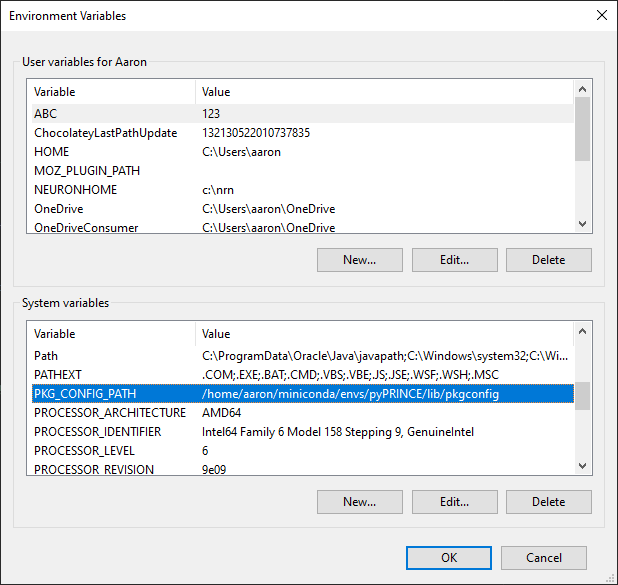
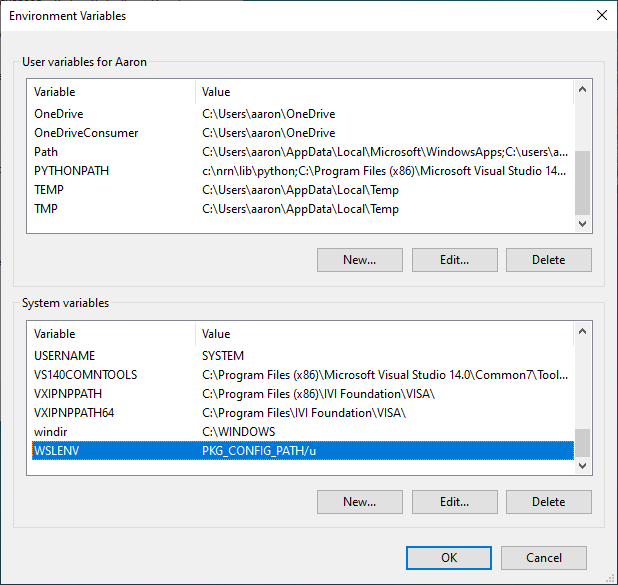
Of course if your conda path is different or you’re using a different environment name these must be changed
Now restart your computer.
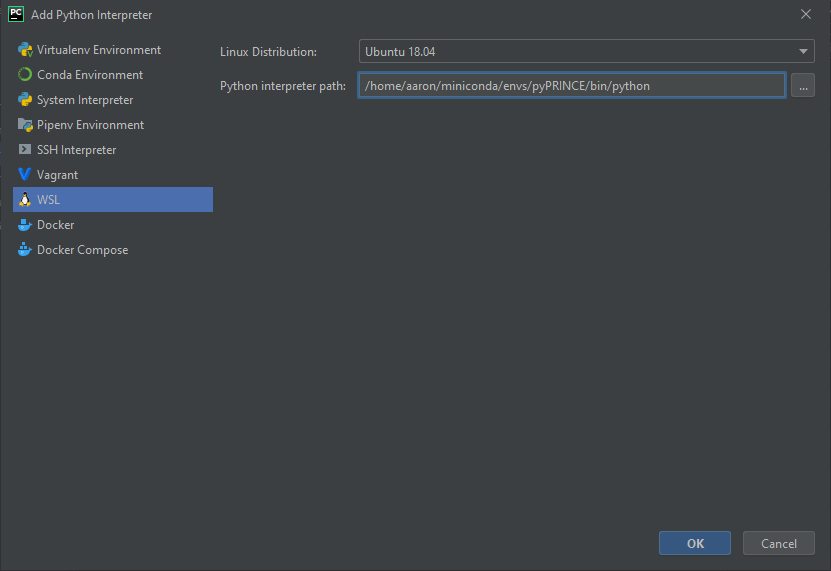
To add the interpreter to pyCharm (for instructions see here). Add add the appropriate path
Lastly for each project you’ll have to configure the display variable.
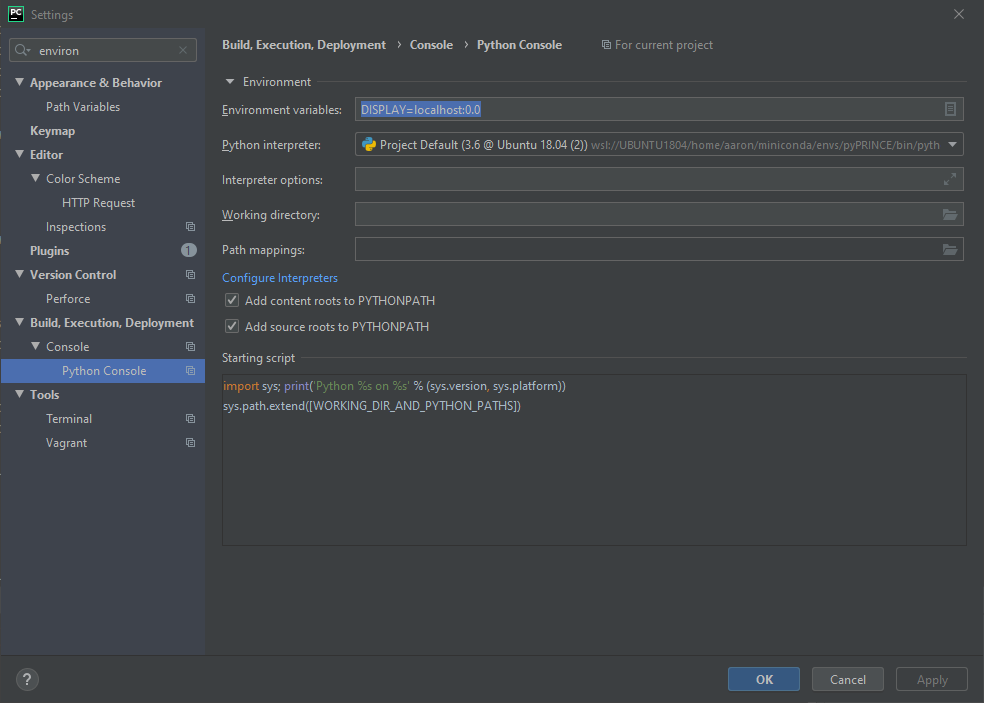
And disable scientific mode (it may be unset to begin with then get set once a scientific library such as numpy as fish2eod get set). Now restart the terminal and you should be good to get started.
